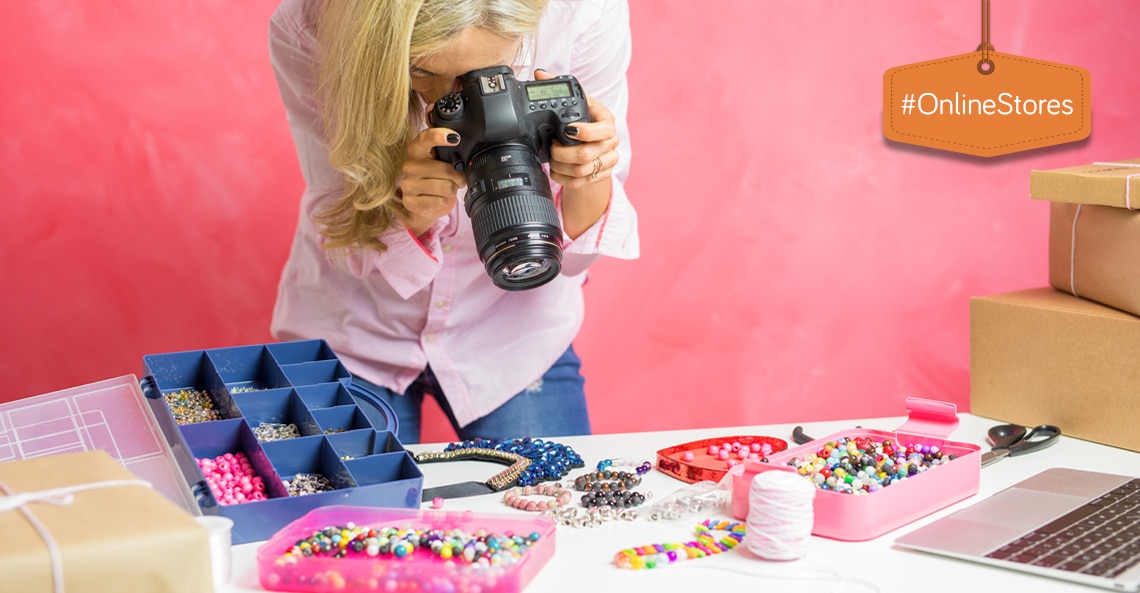
Ecommerce product photography 101 for beginners
What’s the number one thing we always see when looking at products on a website? Well, that’s pretty easy. The first thing almost everyone will notice when shopping online are the product images. Appealing ecommerce product photography is what draws the user/consumer into the product. The imagery is the convincing and selling factor of your product.
The thing that is often looked over by new online store business owners is the power of ecommerce product photography. If you do not have remarkable images you could be losing remunerative sales, and as a start-up you need all the sales you can get. There are many factors to consider when starting to work on your ecommerce product photography.
10 ecommerce product photography tips for beginners
1. Consistency
It is important to remain consistent in your imagery across your entire product range. Although not all the products are the same, the theme of your ecommerce product photography must be consistent. It’s a no brainer to ensure that each product looks the same throughout its image library. Consistency is also about making sure you have a similar number of images throughout all your products, i.e. not having ten angles for one product and just two for another. You need to have a consistent strategy and solid brand guidelines across all product photos.
2. Photo quality
This is a VERY important factor to consider when doing your product photography. Put yourself in your consumer’s shoes: you are scrolling through an online store and you come across a product you really like. You click on the product to view it, but once you get into it you see the product has terrible photography. As much as you like the product, you won’t buy it as your mindset on the product will inevitably change. You most probably assume that if the product imagery is bad then the product might be bad too, regardless of the fact that the product may actually be incredible.
3. Understand your product
Understanding what your product is will help you to get the best photography of it and help you decide whether the product requires a product shot, a lifestyle image or both. Your product shots are typically just an image of the product itself, whilst lifestyle shots are shots of your product being used by a person. Whether using one or the other, it is also important to understand that your consumers cannot physically handle the product, so it is up to your photography to promote the product. To effectively do this, it is best to include images of your product from multiple angles with either product or lifestyle shots.
4. Think about colour
Colour needs to be carefully considered when displaying your products. With the product itself, it is important to understand if your product is available in a variety of colours. If that is the case then it is wise to display the product in its multiple colours. Secondly, what is your product background if you are using product shots? It is unwise to have different coloured backgrounds over multiple products, as it will cause confusion. Stick with a consistent background colour for all your products because this will allow for a clean-looking website layout. The highest recommended background colour is white as this prevents the chance of colour spill.
5. Lighting on a budget
In most cases as a start-up you don’t have much to spend on photos and fancy setups. There is a great solution. You have access to a light source during the day that’s completely free! Using sunlight for your light source is always a good option, however, you need to choose the right times of day. The best times to take your photos is early mornings and late afternoons. It is best done at these times as it prevents harsh shadows from occurring and it can also give you a nice aesthetic for your photos if you know a little bit about photography and light manipulation. Otherwise, it’s not hard to make your own lightbox.
6. Importance of a tripod
The use of a tripod is highly underrated by those new to the ecommerce world. You may wonder why the effort of setting up a tripod is worth it and that you can just grab the camera and shoot. The most important feature of a tripod is stability. Without a tripod your images could come out skew and off-centre. By using a tripod you can ensure that your camera is level and centred on your subject. The use of a tripod will ensure that all your images are consistent and clear.
7. Focus on the product
Trying to sell your product is your main focus and you want the best photos of your product. It is important to keep in mind that your product is the focus, so by adding too many accessories to the product it can distract attention from the product itself. Having accessories can negatively impact the shopper’s perception of the product.
8. Showcase the advantages
Whilst having multiple images of your product is great, you have to think about how your product will benefit your consumers and how best to display this. By adding lifestyle or user-generated shots, or even videos, you can best convey the advantages of your products, as well as how to use them.
9. Always edit
As good as your camera may be, your images will never come out perfectly. Investing in photo editing software never goes to waste, as it will allow you to edit, edit and edit your photos again to ensure you get the best quality out of your image to create the greatest impact on your consumers.
10. Preparation
Before taking photos of your products it is a good idea to check them thoroughly. Ensure your products aren’t dirty or damaged in anyway. If they are then this gives you the chance to fix or clean them to allow for the product to look like it’s supposed to. The smallest of imperfections can have a negative impact on your product when seen in HD. Think of your products as models – you want them to look their best.
Take these tips and tricks into consideration and implement them for the most effective ecommerce product photography. If you want your business to thrive you want to stick out.
For extra information check out the following articles:
● Product photography for ecommerce: getting it right
● 6 ways product photography is important in ecommerce


This Post Has 0 Comments