Starting a podcast part 2: begin recording your episodes
This is the second post in a series about starting a podcast (something I’ve wanted to do for a long time). If you’ve just joined us, I’d suggest starting from part 1 to get a complete guide to starting a podcast.
In this blog series, I’m going to be taking you through starting a podcast, from idea to execution. Here’s an outline of what is to come:
Starting a podcast part 1: get your idea ready
Starting a podcast part 2: begin recording your episodes
Starting a podcast part 3: deploy your podcast
Starting a podcast part 4: measure and improve
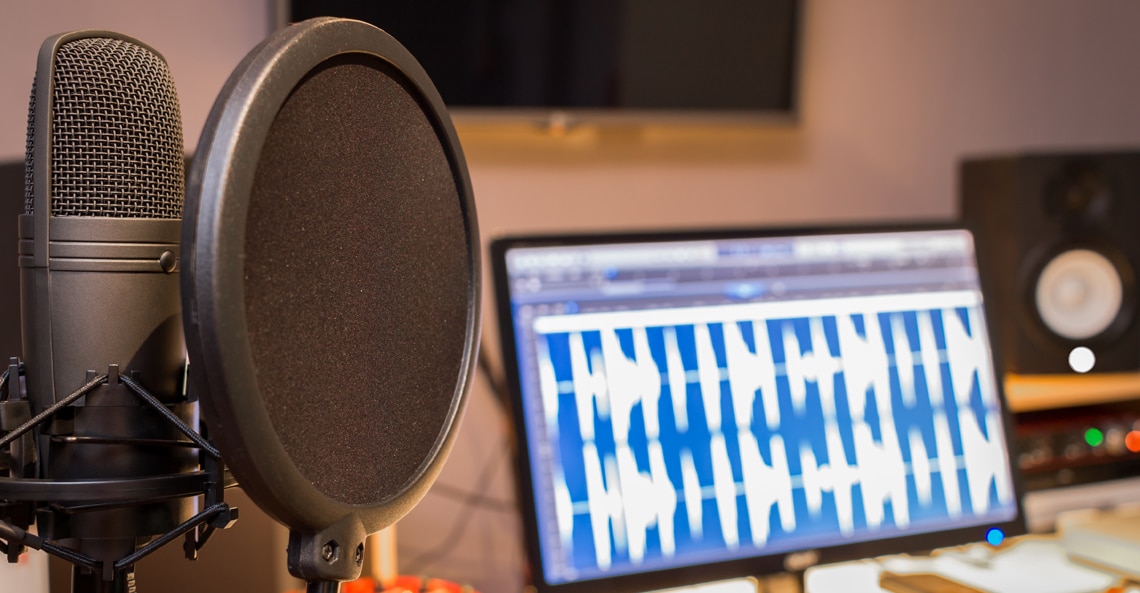
In this post I’m going to be talking about the actual recording of your podcast episodes. Having great audio is essential to a great podcast. Bad audio means that you’ll lose subscribers and even get bad ratings. So here is some advice to consider before beginning the recording process.
Starting a podcast: tips on successful recording
A great environment to record in
Audio software can do some amazing things, but nothing beats audio that has been recorded well, and that is high quality and focussed. To get audio that’s focussed on the content (especially if it’s an interview or someone speaking), you ideally want to remove any background noise that will distract the user from the actual content. Sometimes the murmur in the background at a coffee shop adds to the podcast, but if it’s not managed then it’s going to overwhelm the listener.
Also, making sure a room is acoustically tuned ensures that you’re only getting high-quality audio and not getting funny echoes or a recording that sounds hollow (or like you’re in the bathroom).
Record audio as well as you can
To get high-quality audio you want a device that can take audio in as high quality as possible. If we’re getting technical, we want something that will record at least 128 kbps (kilobits per second), but 256 kbps is better. Why 256 kbps? Because we want to record the best quality now, so that we don’t have to worry later.
Having a good microphone will also make a world of difference. Funnily enough, an iPhone mic held close to the audio source is pretty good if there isn’t too much interference. Ideally though, you want to get a condenser microphone. It’s even more ideal to have one for every person that’s involved in the podcast (that or awkwardly share one mic). Having said that, starting off with a headset mic or a mic that you find on DSLR cameras will work great to get going.
Post-production software
Chances are the audio won’t be perfect when you record it. You’ll most likely want to listen to it and correct volume levels and tones that might irritate listeners. Things like sibilance (that hiss you hear at the end of S’s) or pops (a popping sound you hear on letters like P) can be removed in post-production.
With the volume on the podcast, you want to be able to put your computer volume on max and get little or now distortion.
If you also want to remove sections of the podcast, you can edit these out and move things around to make the content flow a bit better. However, a word of warning, be careful of changing the order of an interview, as you’ll run the risk of getting you or your interviewee in hot water.
So we have planned our podcast and now we have recorded a high quality episode. Next we will be looking at deploying this podcast to iTunes Podcasts and Google Podcasts (which includes setting it up and hosting the episode). See you soon!


This Post Has 0 Comments